
Add to that the fact that the guards had been bonded to the car and had started to crack and break away.

Also things weren't that good underneath with the guard stay having broken away. Yep they needed a bit of attention.

For me, because I'm quite happy working with fibreglass, the logical option was to get some new fibreglass guards and work with them.
First up I removed the old guards. A few rusty bolts requiring penetrating oil, but apart from that they came off relatively easily thank goodness.
Once the old guards were off it was on with the new. Firstly I just held them in place and used a pencil to mark the line on the guard to show where each mounting hole was on the car. You can see down in between the car and the guard where these are.

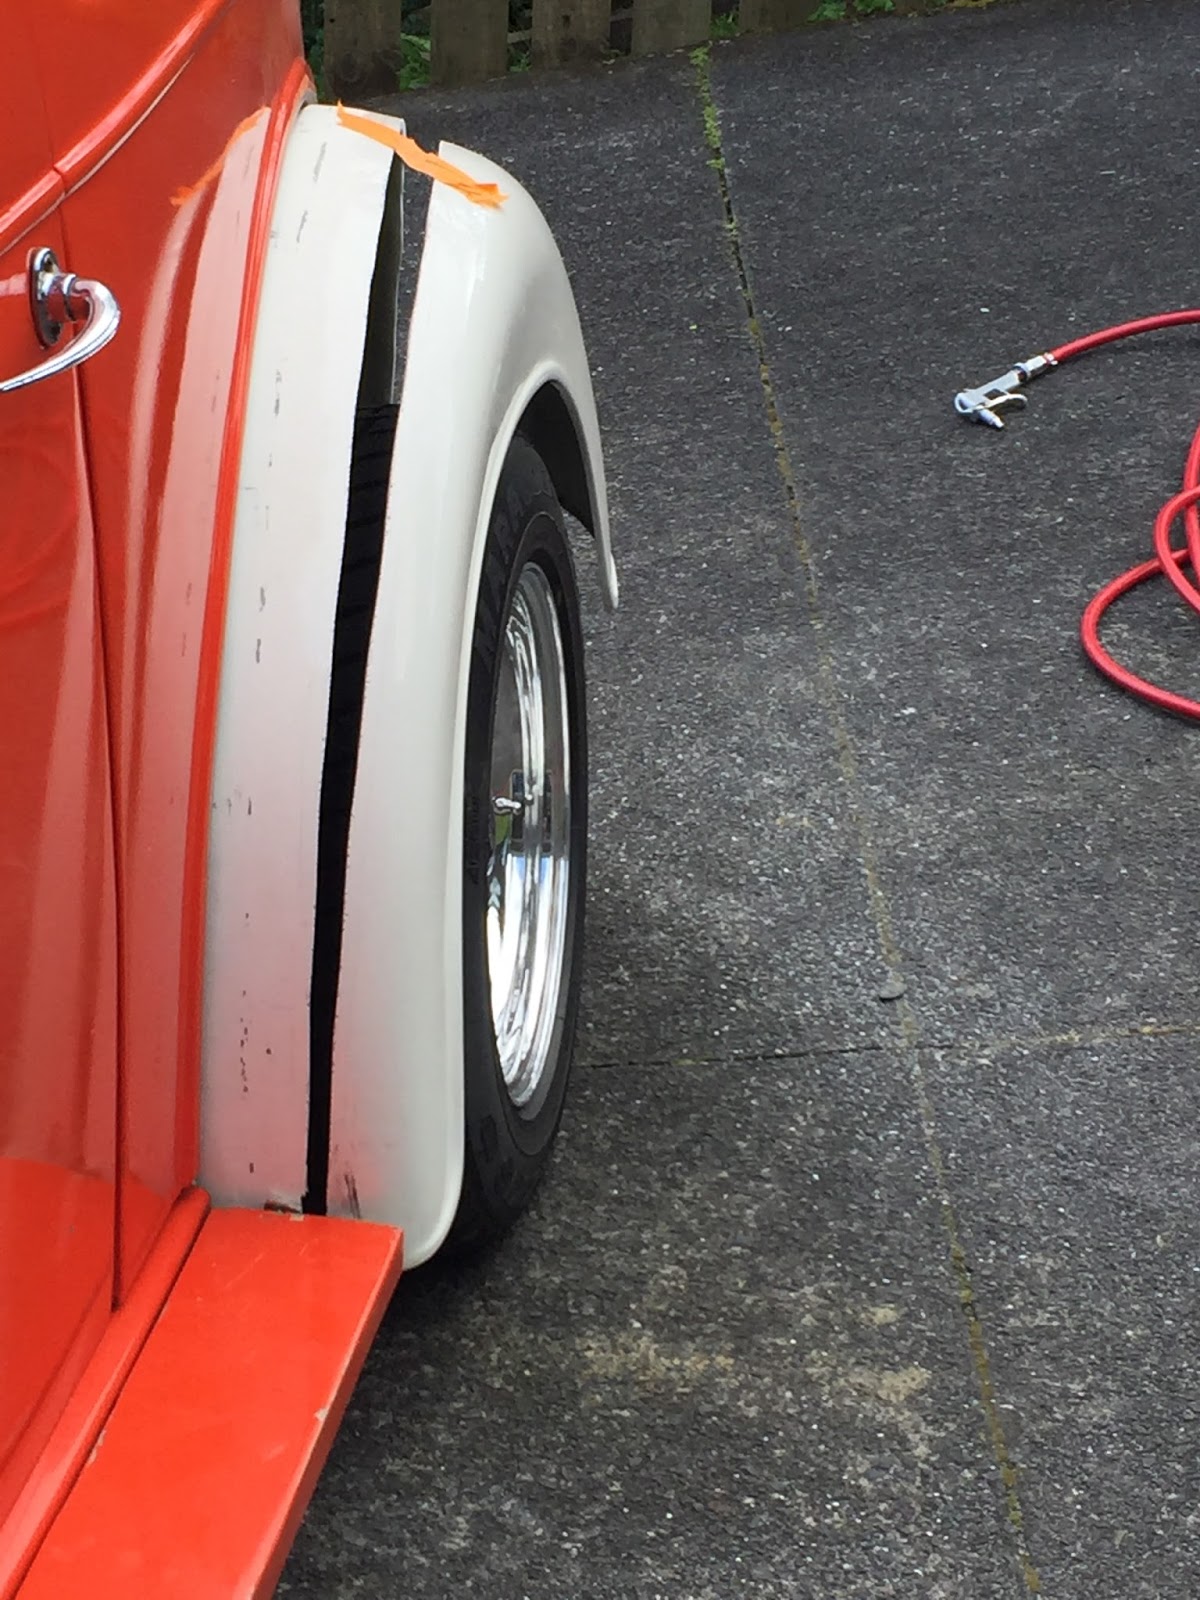
Next was to mark where the hole was in relation to the outside of the car. You can see here that they are exactly 1 inch (25mm) to the centre of the hole.

So I need to measure in from the body line on the guard, out onto the mounting flange.

I drilled the hole slightly bigger than required so that I would have some movement if things need to adjust forward/back or side to side.

You can get away with a slightly bigger hole so long as you use a large "penny" washer to spread the load.

Here we are with the first guard mounted. A little disappointed that I am not better off with these guards than what was on there originally. You always hope that things will be easy, but no surprises when they're not.

The gap to the body isn't too bad though, so a bit of fender welt from Basis down in Renwick will do the trick. I won't bond the guards to the car as having them removable isn't a bad option to have if ever I want to remove the diff for example, but it also means I won't have a repeat of the join cracking like on the old guards.

Here's the car with both guards mounted. Best part of about 4 hrs work here.

The next thing is to widen the guards. Never done that before so here we go. I figured if I came out from the body a bit (so I have room to run the jigsaw though the cut) and be somewhere near the centre of the guard at the top where there is minimum shape/curve it will then be easier the blend the shape of the join.
I used one of my trusty dense foam blocks to mark the line with a pencil.

I then hacked into with the jigsaw. When doing this, use a steel cutting blade, fibreglass is harder than you think and a wood blade will be blunt in 30cm.

Halfway up the cut I stopped and clamped the now loose bottom edge just to keep everything in place.

Once cut completely I clamped the front edge also. I was then able to pivot the outer part in and out until I got the desired width/look.
I then clamped the guard in the middle also. The aim now is to grind away at the edges (between the clamps) to get a good bond. I'll talk about this a little more later on with a few drawings to demonstrate.
Hang on a minute though, that's not going to work! How will I get the centre clamp out once I have glassed either side of the clamp and everything is rigid. Nearly a fail!


Instead I substituted the centre clamp with masking tape and a dense foam block folded back on itself. The block pushes the gap open and the tape stops it opening any wider than I want. Really easy to work with and infinitely adjustable. What's more it's nice and firm. So much so that I was able to attack the edges with a grinder without anything moving.

Now about prepping those edges. The idea is to maximise the bonding surface area. Let's look at some cross sections.
If you have two square edges and glass them together like this....

..... once you sand off the surplus fibreglass you will end up with a very small connecting surface and a thin layer as highlighted. This will crack.

To overcome this you need to taper the edges like this.

Then once you have glassed and removed the surplus you will end up with bonding surfaces as highlighted below. This is much stronger and there is no straight edge in there that will crack.

So here we go, lets start fibreglassing. You can put packing in behind but I found just adding one layer and letting that go hard first, then putting on the extra layers from above was easiest.


Not looking too bad!

If it starts to look like rain, cover the curing fibreglass. These plastic sheets are good as they are waterproof and they peel off if they make contact with the wet fibreglass.
Its important that no water gets in, as water kills the chemical reaction, and your fibreglass won't harden.

Once done I took the guards off and flipped them over to glass the insides. Here we are after sanding. All set now for a bit of body filler and priming.

Until next time. Remember you build a rod by doing. Even if it's just 1/2 an hour of pondering how you will attack it, or 1/2 an hour on the internet finding parts. Every little thing you do is progress. Watching TV isn't. Get in your shed!
Nice job slicing and dicing that fender like you wanted it. And good work on the fiberglass too. Can't wait to see more.
ReplyDeleteJust posted part 2....but plenty more to come yet!
ReplyDelete