As Phil eluded to in the last blog....the posts have been few and far between because every waking hour has been spent on this car. This means coming home from work and going straight to the shed....surfacing briefly for dinner (thanks Janine for being star caterer to everyone who was here) and then going back until 11, 12 or even 1am. As far as the weekends were concerned most were 16 hour days.
Exhausted is an understatement. During that time (god knows how many weeks its been its all a blur now) I have had to take a couple of early nights in as the body just wasn't keeping up but even then it was still no earlier than 10.30.
Anyway to catch you all up, here are the things that have been going on. This is of course over and above the work that was done in the previous blogs.
The radiator came out as it was leaking.


And it was re-cored (the bit in the middle with all the tubes and fins was replaced)

And here it is just before it went back in the car. New fan as well. Believe it or not half a days work just mounting the fan. The fan is mounted on the rear this time as that is about 30% more efficient.

The old trans cooler was replaced....

With a new blingy one that sits under the radiator rather than the old one that sat in front of and all but blocked the radiator.

The old gauges were removed


The holes filled with steel discs that were welded into place....Thanks Tony!


Then the dash was bogged to make it smooth

Then it was primed

Then the holes cut for the new gauges

After that it was painted and the new gauges...pictured below

Were all installed

Lastly here are some before and after pics of the engine bay.
BEFORE

AFTER

BEFORE

AFTER

Man what a job....its been massive and there is absolutely no way on earth I would have been able to do this on my own!
A huge thanks to Roger Duke who seemed to always be there and helped with everything.

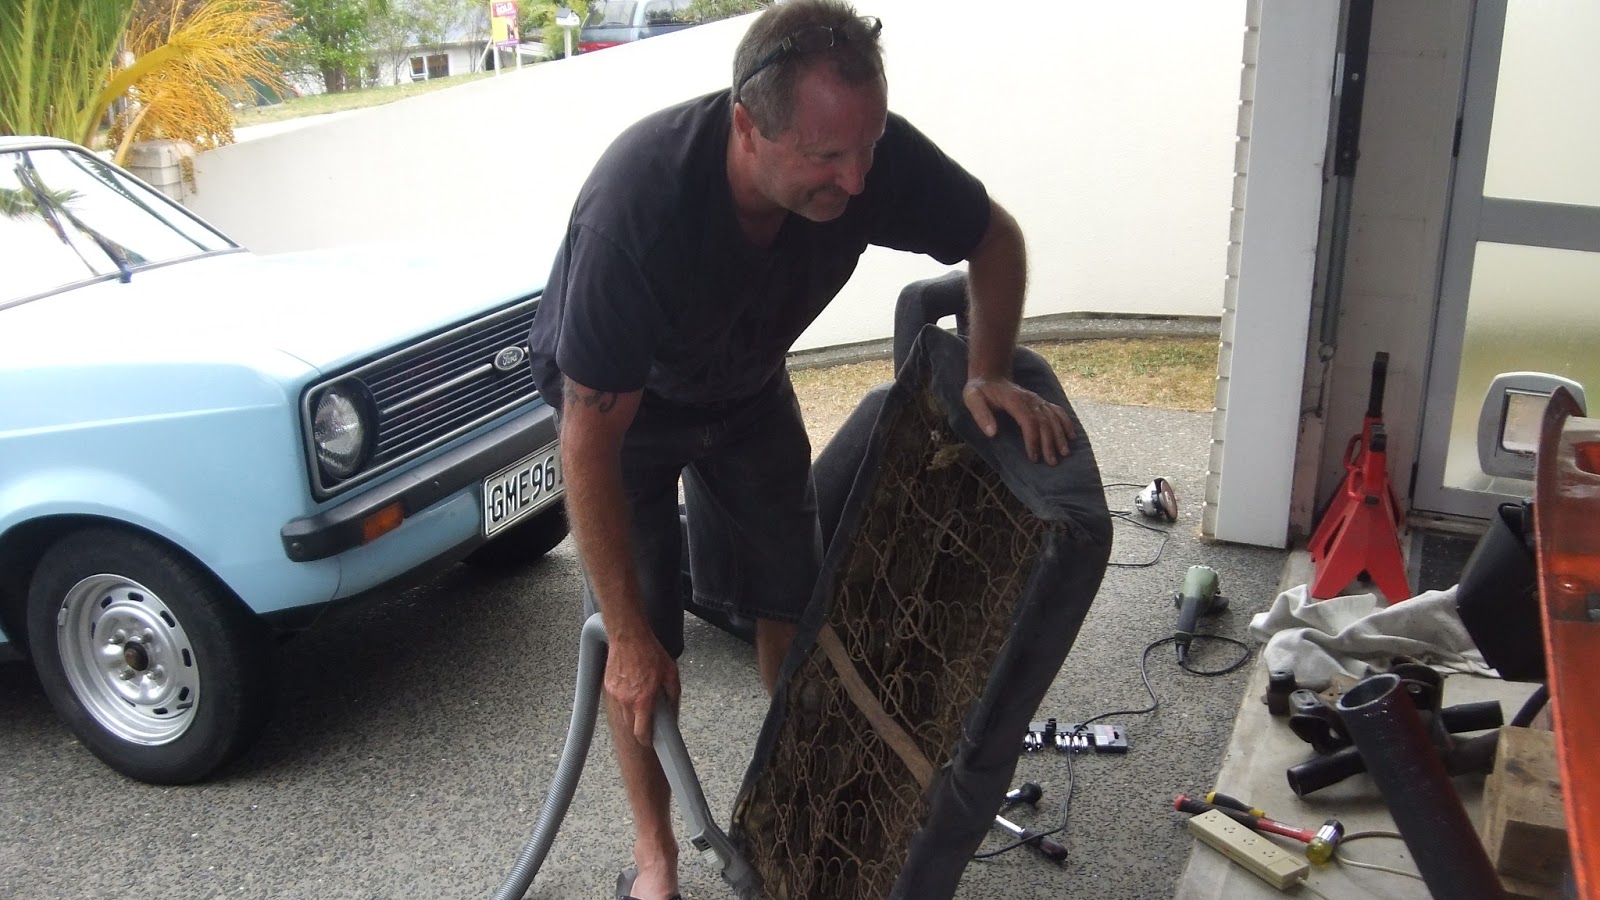
To Bill who also pitched in and helped with many odds and ends that needed to be tied up. Also a good source of knowledge when you need it. Looks great on the end of a vacuum too!
To Tony for all the TIG welding.

Janine for all the background support and catering.

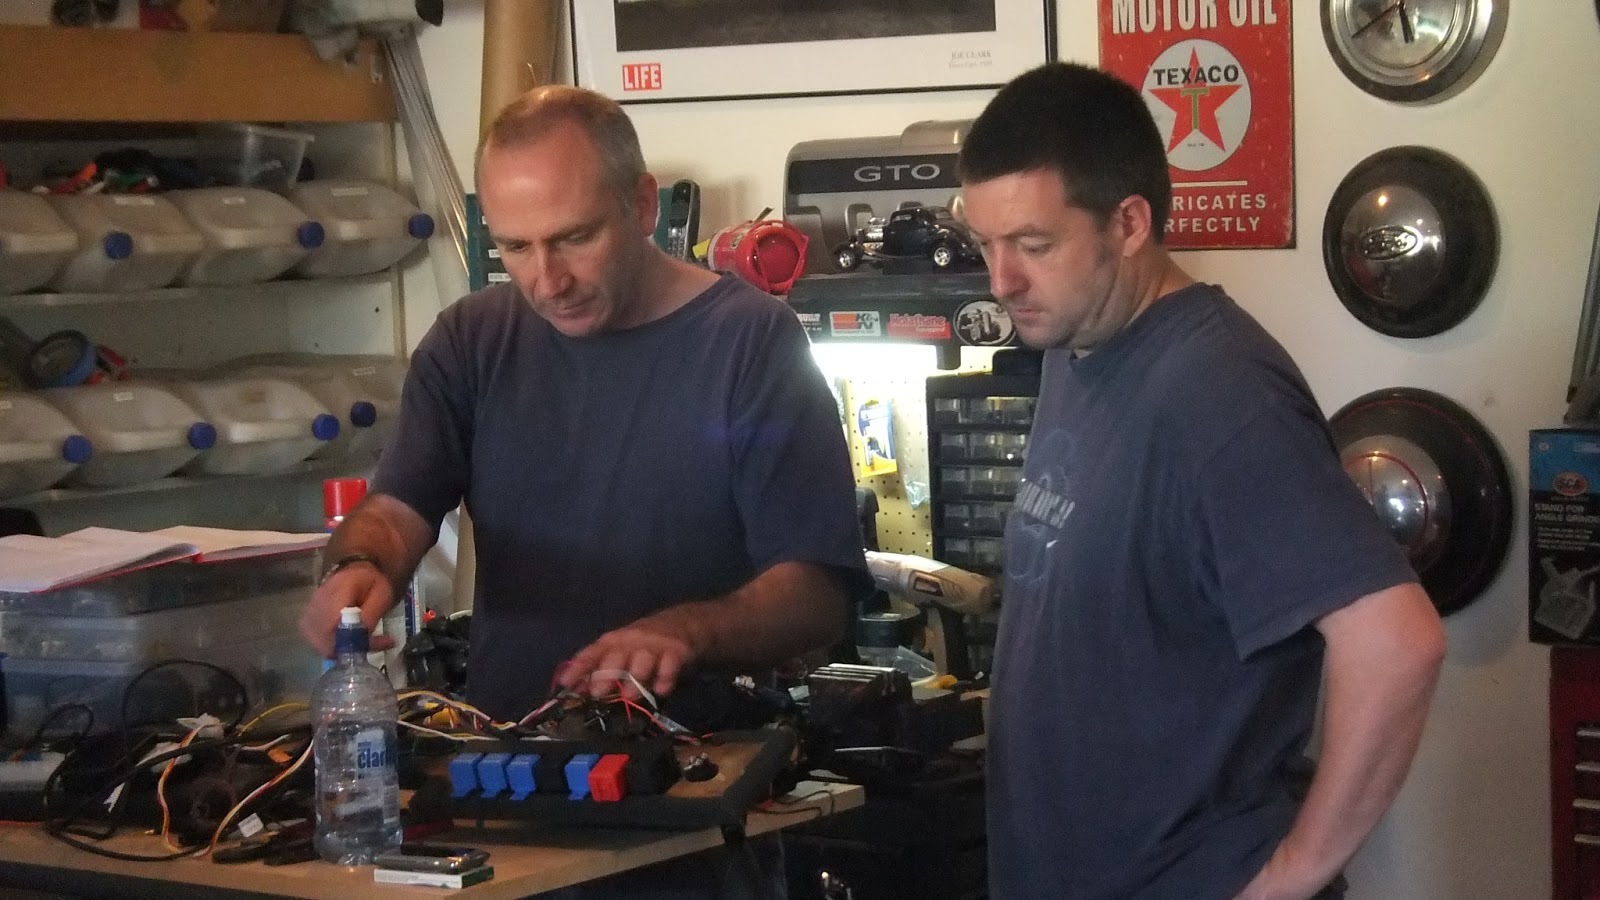
And of course Phil and Jason for all their work on the wiring.
Obviously these blogs don't cover every detail, but if you want to know job by job what was done on the Pop, here is the task list. Oh and note the one last special job right at the end.....
| Flush Cooling System |
| Remove Radiator and take in for recore |
| Insert threaded boss in bottom tank of radiator for Rad Fan switch |
| Replace Radiator Cap |
| Replace Thermostat |
| Paint and reinstall alternator bracket |
| Install new thermostat housing |
| Install new pressure switch for oil pressure warning light |
| Install new Trans Cooler |
| Lower right side exhaust to match left and to provide clearance from fuel tank |
| Install new Accelerator & Kickdown bracket and return springs |
| Replace Accelerator pedal |
| Install Accelerator cable |
| Install Trans Kickdown Cable |
| Install new Rocker Covers |
| Remove and replace brake pads with low carbon versions |
| Replace harmonic balancer and front pulley |
| Have alternator polished and reinstall |
| Modify new rocker cover on drivers side to clear brake booster. Install. |
| Install new air cleaner |
| Re do front brake lines |
| Clamp brake lines at 300mm intervals |
| Buy and install new front brake flexi hoses |
| Bleed brakes |
| Clock starter motor and install |
| Wire up starter motor |
| Install Speedo drive |
| Have radiator bottom outlet modified |
| Make brackets for radiator to install new Radiator Fan |
| Fit new radiator top mounts |
| Reinstall radiator and new hoses, add antifreeze |
| Make brackets and install Rad Overflow bottle |
| Wire up auto Elec Fan Switch |
| Change Oil Filter & Oil |
| Check level and cut new dipstick to suit |
| Install new Engine Dipstick |
| Sand dashboard and prime |
| Cut holes in dash for gauges and warning lights |
| Install new gauges |
| Install Dash warning lights |
| Remove gauges and warn lights for dashboard paint |
| Remove gauges and warn lights for dashboard paint |
| Reinstall gauges and warn lights |
| Install new Fuel sender unit and repair fuel leak |
| Top up Trans fluid |
| Check new Trans dipstick length against old one |
| Install new Trans Dipstick |
| Install new shocks |
| Remount coil under dash |
| Wire Air Horns and mount motor |
| Fit Stereo |
| Redo wiring loom |
| Reinstall inner guard and drivers guard |
| Install grill/nose cone |
| Remount and rewire drivers headlight |
| Tidy wiring in engine bay and clamp to chassis |
| Install LED taillights |
| Re run Fuel line in engine bay |
| Install Window Winders & Door Handles |
| Raise front of seats |
| Adjust seat back to come further forward or raise back of seats |
| Cover lower steering column with shroud |
| Install Accent lights |
| Install new Number plate light Tie up all wires under front guards Align headlights Wire tail lights, fuel tank sender unit, brake lights, Number plate light, eye level brake light, rear stereo speakers and rear indicators Fill radiator Install new fuel filter Install column stalks and shroud Fit new steering wheel Fit radiator overflow hose and overflow bottle Install speedo sender unit Fix battery terminal fitting so it clamps on better Tighten gear knob Calibrate speedo ....and lastly.....put the Beach Hop sticker on. I promised myself that wouldn't go on until everything was done! Here we are ready to go.....its 1 am and I still need to pack my bag....that's okay though we're going to Beach Hop!!!! |
  |
Next Blog will be pics of the car being driven and used. Yay!
|
All I can say is awesome job done by all. The Beach Hop will make all the long hours and frustration worth it!!
ReplyDeleteCongratulations to you guys, looks like the mad thrash paid off because the car looks great. You've got some awesome friends Colin, big props to all of them too.
ReplyDeleteI looked up The Beach Hop that you're going to and it looks like a huge wild party, lots of hot rods, food, drinks, multi day, having a good time event. Good luck to you both and I hope you both have a safe and uneventful trip.