Total Pageviews

Monday, January 25, 2016

Prepping for Paint - Doors - Part 1


I had the doors refurbished by Steve Simpson at Panel Restorations. They were mostly pretty tidy but a bit of rust was cut out of the bottom and new patch panels welded in.

I also had Steve drill out the hinges and fit new over sized hinge pins as they had flogged out a bit with 60 years of use.

Here is the door with the silver zinc spray added by Steve after he had done his repairs.


You can see here the repaired corner


This is the new over sized hinge pin ready to be driven home after the car is painted and I have finished taking things off and on.


The first major change I'll be making is to install a power window kit in lieu of the old wind up windows. I am also putting in new channels. I have chosen to buy the stainless edged channel, just because I think it looks a bit better. I purchased this from Basis in Renwick. Make sure when you buy channel that the exterior width will fit in the channels in the doors and that the internal channel will take the thickness of glass you are intending to use. Also a word of caution.....if you need to bend the channel to fit, make sure you get bendable channel. There are rigid channels also available for cars that have straight window runners. It's cheaper but don't be fooled into thinking you can bend it with any success. You can't! Pay the extra and get the right stuff.


Firstly I fed the end of the channel down into the door through the window opening.


I then located the bottom end into the retaining clip at the end of the channel.


Then it's just a case of working the channel into the curves, up and over the top of the door frame. Really take your time when bending the channel, do it gradually and slowly by massaging the channel to the desired curve. If you try and bend it too quickly or in one movement, you are likely to have the channel pinch and buckle. Just take the time and be patient.


Before you go too far, pass the other end in through the window opening.


Then ease everything into place.


Once I had everything in place I taped the bailey channel to ensure nothing moved before going ahead and fastening it. 


I then went back to the start and drilled a small hole through the channel and into the door.


I used stainless screws to fasten the bailey channel to the door. Again start at one end and work your way around.


Now to mount the power window set up. I used a Dolphin brand kit from the States. These are really nice and flat so fit nicely in the narrow doors of older cars. I have used units from an 80's Ford Laser in the past in a 34 Coupe, but even these wouldn't fit in the Pop doors.

I was pretty pleased with the Dolphin kit. It comes with everything you need to plug and play.

Here is the unit sitting in place. 


Note the centreline I have marked for the centre of the glass. It's important the power window unit is centred and vertical or the window won't run up and down nicely.


I made a frame from angle iron so that I'd have some strength there. I cut away sections to fit over the existing door brace.


Here it is in place and you can see it will pick up the 3 mount points on the Dolphin unit as well as bolt to the door itself.


Here it is bolted in place. When I mount it for the last time I will get hold of some countersunk head bolts so that everything is nice and flush and won't interfere with the fit of the door card.


Lastly I used the strap supplied to secure the motor unit to the door edge.


Should all be good to go now. The only thing I'll need to do now is maybe pack the mount points away a bit from the angle iron frame I made, to fine tune things and ensure it all lines up with the glass. I will do this later when I am installing the new glass.


Tuesday, December 8, 2015

Prepping for Paint - Widening Rear Guards - Part 2

The next stage after cutting the guards in half....straight down the middle....and widening them by adding in extra fibreglass, is to fill, sand, fill, sand and prime so I have a nice finish for paint.

As you can see here I have spread body filler over the new fibreglass. Body filler is in fact resin with powdered fiberglass in it to make a spreadable filler that bonds really well to raw fibreglass.


I sanded it roughly to shape and then spread a guide coat over that. A guide coat is used to cover the entire area, then as you sand the guide coat disappears (is sanded off) wherever the sandpaper is making contact. Obviously if the guide coat remains you either haven't sanded that bit or its a low spot that needs filling. The guide coat can be a spray on paint or as I have used below a dry powder that you rub on with a sponge pad.


You can see here after sanding I still have lots of low spots.


I did a bit more filling, guide coating and sanding then once I had things looking reasonable I primed the guards.

I used a PPG primer. Note the spray gun stand. These are really handy and help stop you getting in a mess by trying to hold the gun and pour paint one handed. A small investment that makes life a lot easier.

The mixing cups are essential too to mix primer and thinners. This should then be run through a filter into the gun. ALWAYS FILTER the paint.


Here we are ready to go.


Once primed there were still some low spots that required filling so these were touched up with a bit more filler. I guess a pro would have these right by now but this is the first time I have given anything like this a go, so yeah a bit more time involved but I'm getting there.


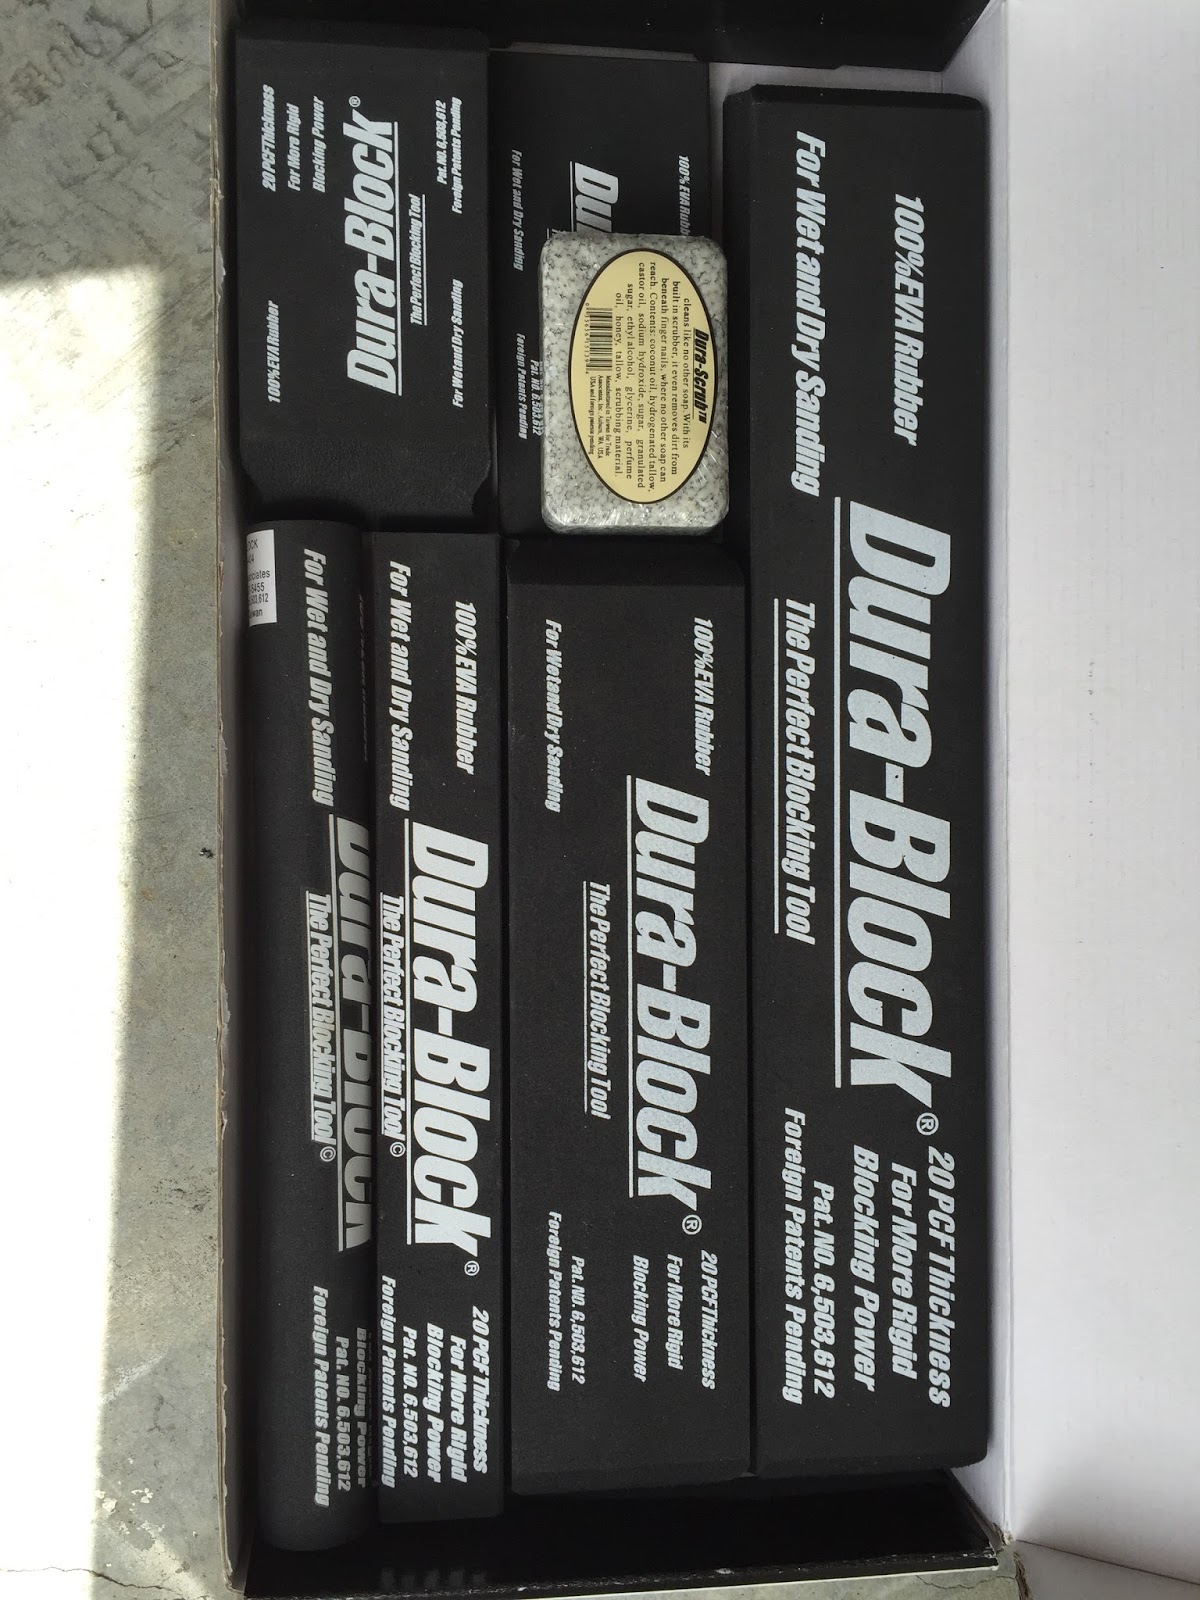
Another tip when sanding compound curves is these flexible sanding blocks. Sanding large areas with a piece of sandpaper by hand wont get the desired result. Your finger tips just follow the indentations/hollows and its near impossible to get a nice ripple free, hollow free finish.

As I do a lot....I asked around at a panel shop and a car painters supply store to see if there were any tricks or tips to sanding a compound curve (a panel that is curved both front to back and side to side). Its important to ask as there are often many little tips and tricks that can save you a whole lot of time and effort if only you bothered to ask. Even asking your fellow hot rodding mates can bring up new ideas and ways of doing things that you hadn't thought of.


With these blocks you can use a self adhesive backed sandpaper. Another example of something I'd never heard of before.


The blocks themselves flex (particularly the smaller ones) and follow the shape of the panels curve, but as you can imagine, when used with sandpaper, these will knock the tops off any high spots but not fall into any low spots. Bam! Nice curves!


What you do is you lay your strip of adhesive backed sandpaper on the curve you are going to sand, then press the block onto it. There you have it the adhesive sandpaper holds the block to that shape. This made life much easier and as an amateur, even I was able to get what I thought was a reasonable result.


After much more sanding an filling, I was able to finally prime and fit the guards. Here they are fitted up with tail lights and all!


I'm pretty happy with the result. They still have a couple of blemishes but a decent coat of primer filler and final sand will deal with those before paint.


Sunday, November 29, 2015

Prepping for Paint - Boot Lid - Part 1

Know your limits!

There are times when building a rod that you need to understand there are limits to what you can do and this can be for time, a lack of required skills or a lack of required tools.

With things like the boot lid on the Pop (and indeed the repairs to the doors) it just didn't make sense that I should tackle these. Yes I'd love to be able to make panels and roll up a new boot lid skin on an English wheel, but I don't have the skill to do that, the tools to do that or the time to do that.

Yes one day I will go down that track, but not on this project. The self placed deadline is early next year to be back on the road, so it would be futile to even attempt. I think this is where some people go awry with their projects and things go from being a quick paint to a 10 year rebuild or worse still, they never see the light of day again. I can't afford to let that happen as I have a Coupe to get back onto building as soon as the Pop is back on the road.

So off I toddled to Steve Simpson at Panel Restorations in Hillside Road on the North Shore.


Yes I had to pay a wad of cash, but the job is being done and I can keep progressing.This is the inner boot lid after repair.


You can see here the boot lid I had was a bit the worse for the 60 odd years it has been in existence. The rusted piece was cut out and the newly fabricated item installed.


This was the first trial fit to make sure all was well before progressing with fitting a new skin.


Steve made a few more alterations to get everything sitting just right.


You may have seen Steve's truck around. This thing is way cool and despite several offers to buy Steve remains the proud owner!


Look Steve up if you are in the area, even if its just to review the projects he is working on. 

Anyway, here it is now all fitted up with the skin installed.


I now needed to create a mechanism for boot release as I am not going to run an external handle. Instead I will have a boot release inside the car. There is one on the existing boot lid but I wasn't entirely happy with it so wanted to create a new one.

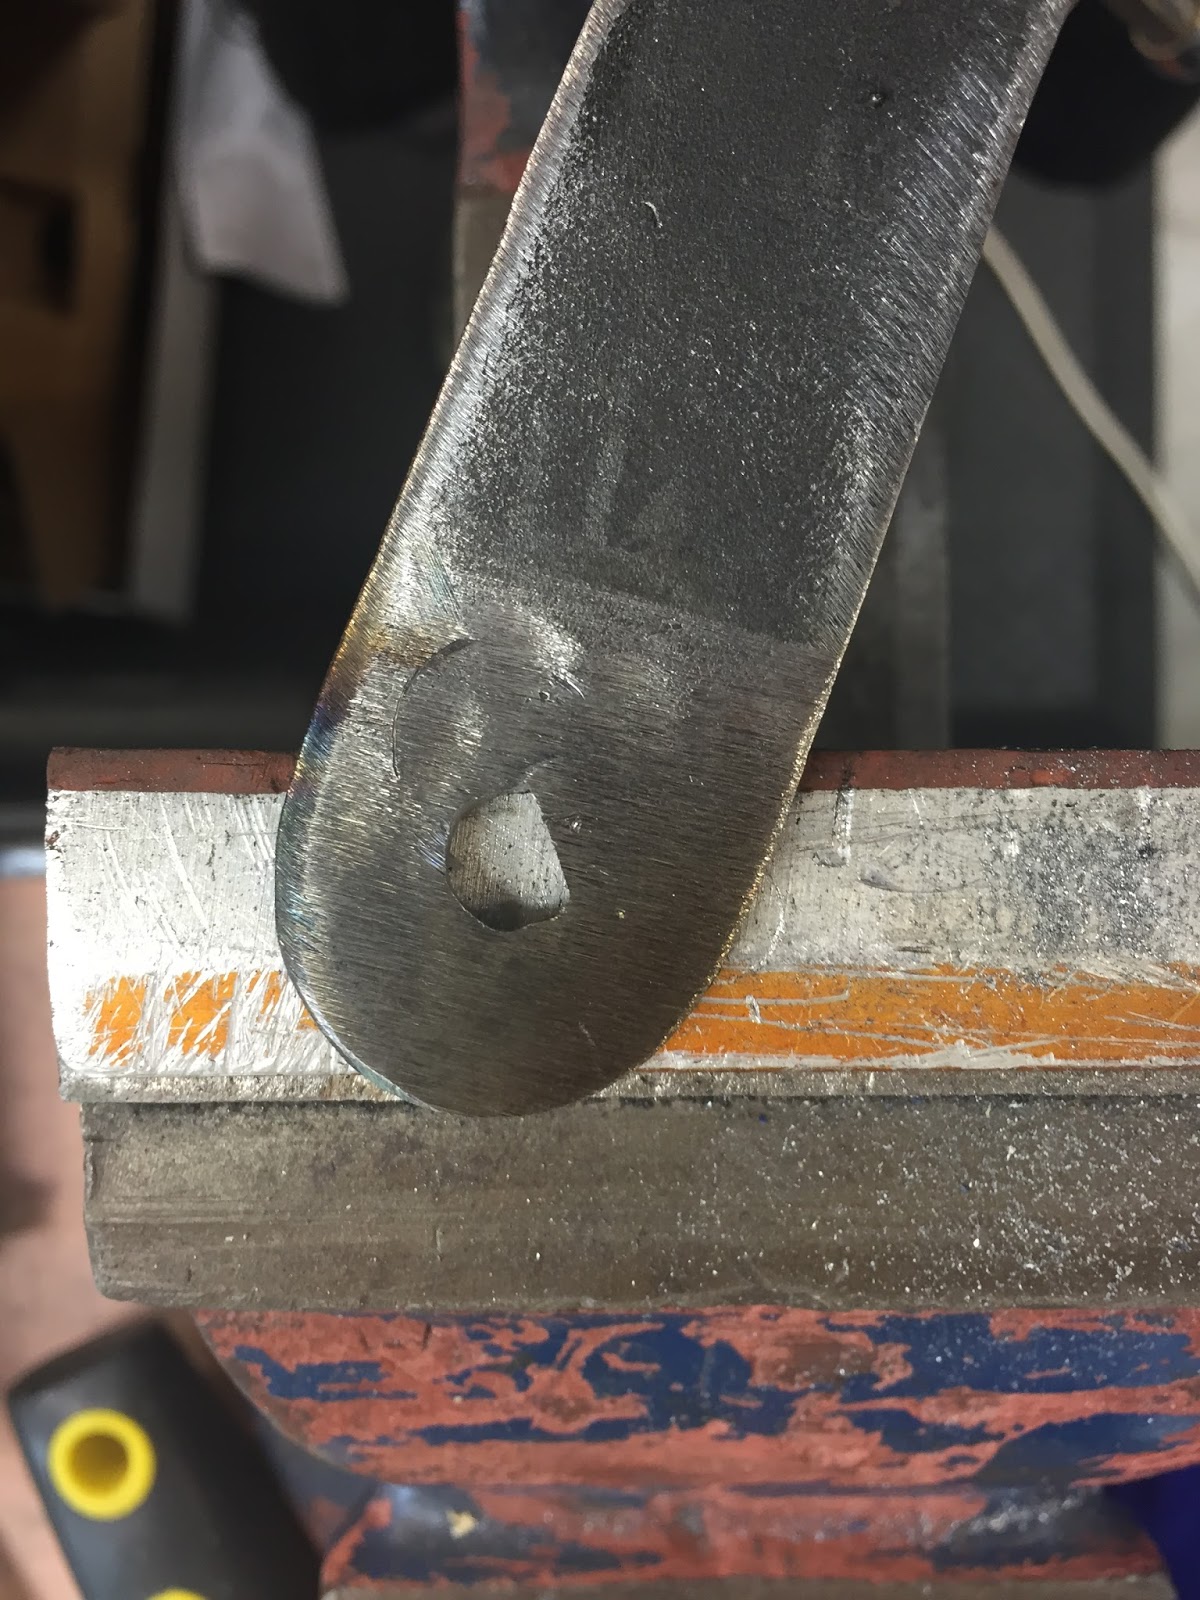
It uses the existing catch but instead of a handle with a square shank into the catch, I will have a cable operated lever on the inside of the lid. To achieve that I have put a bolt through the hole that has one side flattened off with a file. I have put red marker on the end of the bolt to accentuate that for you.


I then made a lever and drilled a hole one end that will go over that bolt. I then welded into that hole on one side and filed it so that the hole has a flat on it to match the bolt. (see hole at bottom of pic)


Here it is on the catch. As you can see, when the lever turns now it will also turn the bolt. On the rear of the catch I tacked the bolt head in place so now as the bolt turns it operates the catch.The reason I used a bolt here rather than a square shank (like the original handle was) is so that I can screw a nut onto the threaded bolt to hold the lever in place. I need the arm to be removable so that I can slide the catch unit out if ever there are any issues with it. I wouldn't be able to do that if I had a lever welded to it.


For the other end I raided a control rod and the nylon fittings from a Japanese car. These nylon fittings just press in.


When you press the rod into the fitting it locks it in place so the nylon fitting wont pull out.


Then the nylon fitting is turned to clip over the rod. Sorted!


There we have it. A lot more robust than what was there before and should be relatively trouble free.


Until next time!

Monday, November 23, 2015

Prepping For Paint - Widening Rear Guards - Part 1

One thing that has always bugged me with the Pop is the fact that the tyres sit out beyond the lip of the guard, not majorly so but enough to annoy me. 


Add to that the fact that the guards had been bonded to the car and had started to crack and break away. 


Also things weren't that good underneath with the guard stay having broken away. Yep they needed a bit of attention. 


For me, because I'm quite happy working with fibreglass, the logical option was to get some new fibreglass guards and work with them. 

First up I removed the old guards. A few rusty bolts requiring penetrating oil, but apart from that they came off relatively easily thank goodness. 

Once the old guards were off it was on with the new. Firstly I just held them in place and used a pencil to mark the line on the guard to show where each mounting hole was on the car. You can see down in between the car and the guard where these are. 


Next was to mark where the hole was in relation to the outside of the car. You can see here that they are exactly 1 inch (25mm) to the centre of the hole. 


So I need to measure in from the body line on the guard, out onto the mounting flange. 


I drilled the hole slightly bigger than required so that I would have some movement if things need to adjust forward/back or side to side. 


You can get away with a slightly bigger hole so long as you use a large "penny" washer to spread the load. 


Here we are with the first guard mounted. A little disappointed that I am not better off with these guards than what was on there originally. You always hope that things will be easy, but no surprises when they're not.


The gap to the body isn't too bad though, so a bit of fender welt from Basis down in Renwick will do the trick. I won't bond the guards to the car as having them removable isn't a bad option to have if ever I want to remove the diff for example, but it also means I won't have a repeat of the join cracking like on the old guards. 


Here's the car with both guards mounted. Best part of about 4 hrs work here. 


The next thing is to widen the guards. Never done that before so here we go. I figured if I came out from the body a bit (so I have room to run the jigsaw though the cut) and be somewhere near the centre of the guard at the top where there is minimum shape/curve it will then be easier the blend the shape of the join. 

I used one of my trusty dense foam blocks to mark the line with a pencil. 


I then hacked into with the jigsaw. When doing this, use a steel cutting blade, fibreglass is harder than you think and a wood blade will be blunt in 30cm. 


Halfway up the cut I stopped and clamped the now loose bottom edge just to keep everything in place. 


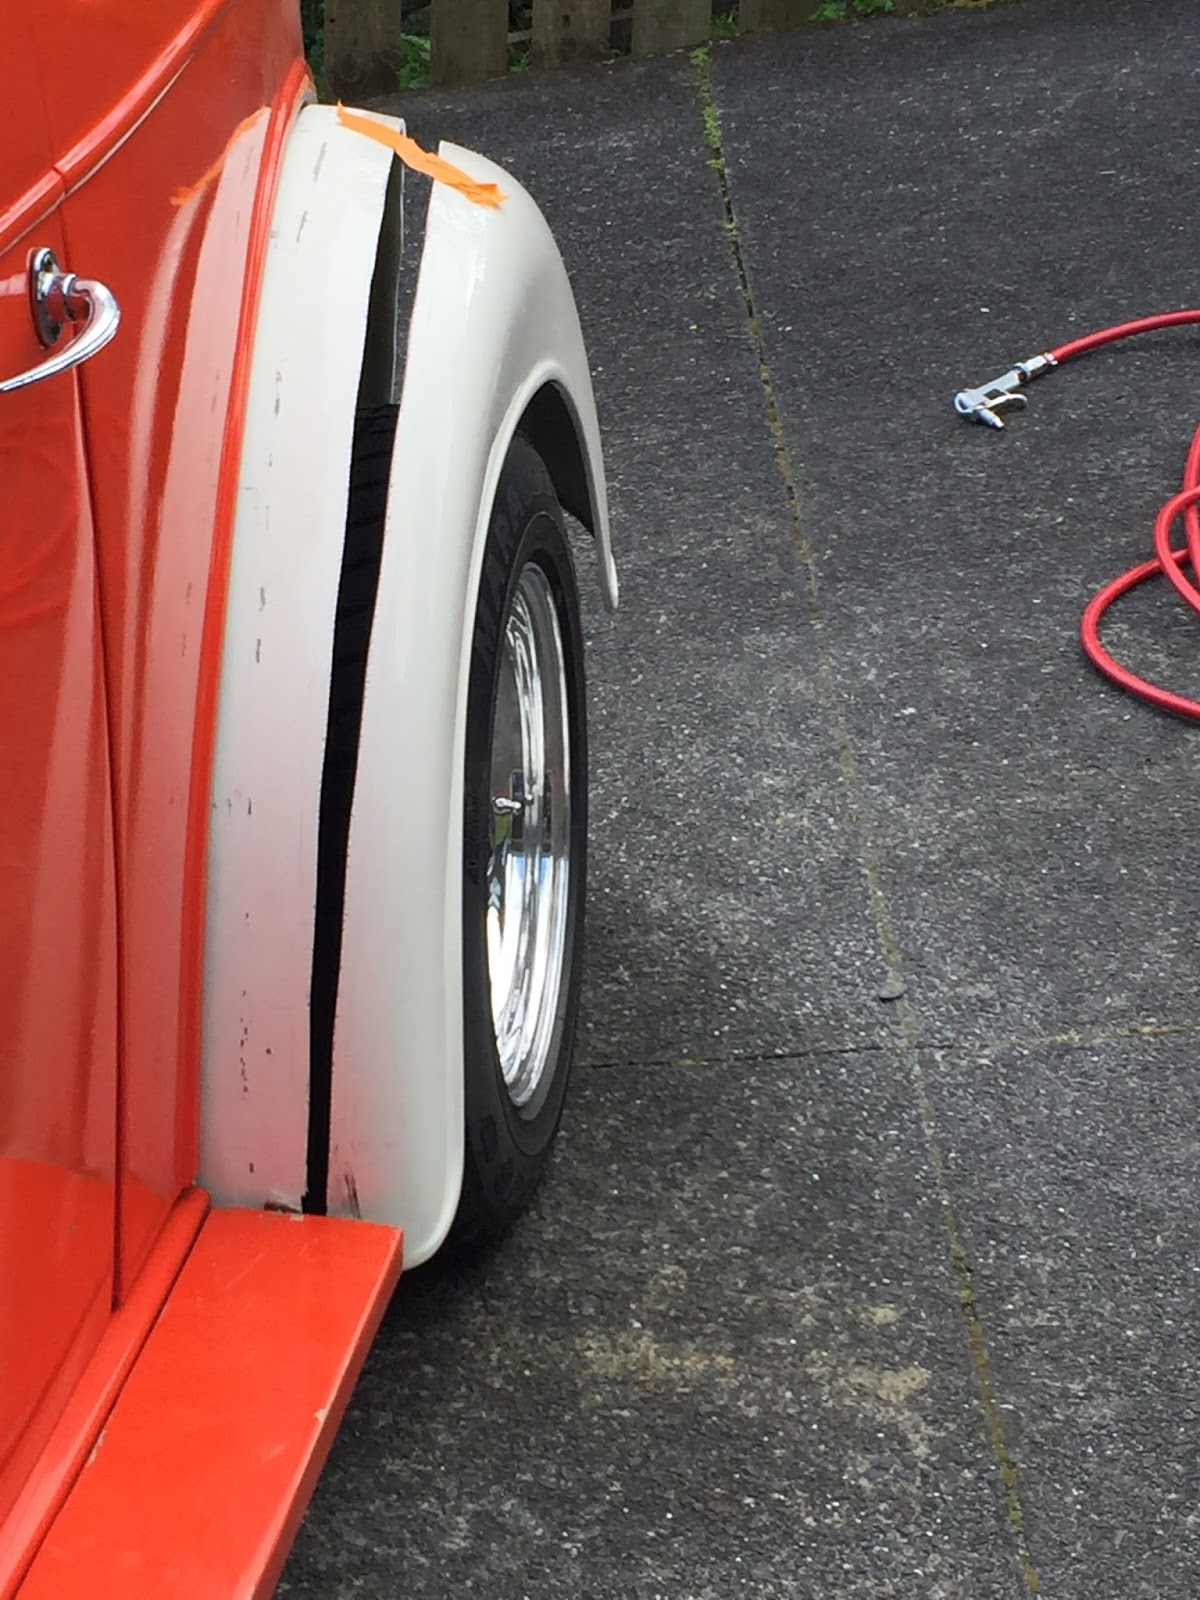
Once cut completely I clamped the front edge also. I was then able to pivot the outer part in and out until I got the desired width/look. 


I then clamped the guard in the middle also. The aim now is to grind away at the edges (between the clamps) to get a good bond. I'll talk about this a little more later on with a few drawings to demonstrate. 

Hang on a minute though, that's not going to work! How will I get the centre clamp out once I have glassed either side of the clamp and everything is rigid. Nearly a fail!


Instead I substituted the centre clamp with masking tape and a dense foam block folded back on itself. The block pushes the gap open and the tape stops it opening any wider than I want. Really easy to work with and infinitely adjustable. What's more it's nice and firm. So much so that I was able to attack the edges with a grinder without anything moving. 


Now about prepping those edges. The idea is to maximise the bonding surface area. Let's look at some cross sections. 

If you have two square edges and glass them together like this....


..... once you sand off the surplus fibreglass you will end up with a very small connecting surface and a thin layer as highlighted. This will crack. 


To overcome this you need to taper the edges like this. 


Then once you have glassed and removed the surplus you will end up with bonding surfaces as highlighted below. This is much stronger and there is no straight edge in there that will crack.


So here we go, lets start fibreglassing. You can put packing in behind but I found just adding one layer and letting that go hard first, then putting on the extra layers from above was easiest. 


Not looking too bad!


If it starts to look like rain, cover the curing fibreglass. These plastic sheets are good as they are waterproof and they peel off if they make contact with the wet fibreglass.

Its important that no water gets in, as water kills the chemical reaction, and your fibreglass won't harden.


Once done I took the guards off and flipped them over to glass the insides. Here we are after sanding. All set now for a bit of body filler and priming.


Until next time. Remember you build a rod by doing. Even if it's just 1/2 an hour of pondering how you will attack it, or 1/2 an hour on the internet finding parts. Every little thing you do is progress. Watching TV isn't. Get in your shed!