As you can see here I have spread body filler over the new fibreglass. Body filler is in fact resin with powdered fiberglass in it to make a spreadable filler that bonds really well to raw fibreglass.

I sanded it roughly to shape and then spread a guide coat over that. A guide coat is used to cover the entire area, then as you sand the guide coat disappears (is sanded off) wherever the sandpaper is making contact. Obviously if the guide coat remains you either haven't sanded that bit or its a low spot that needs filling. The guide coat can be a spray on paint or as I have used below a dry powder that you rub on with a sponge pad.
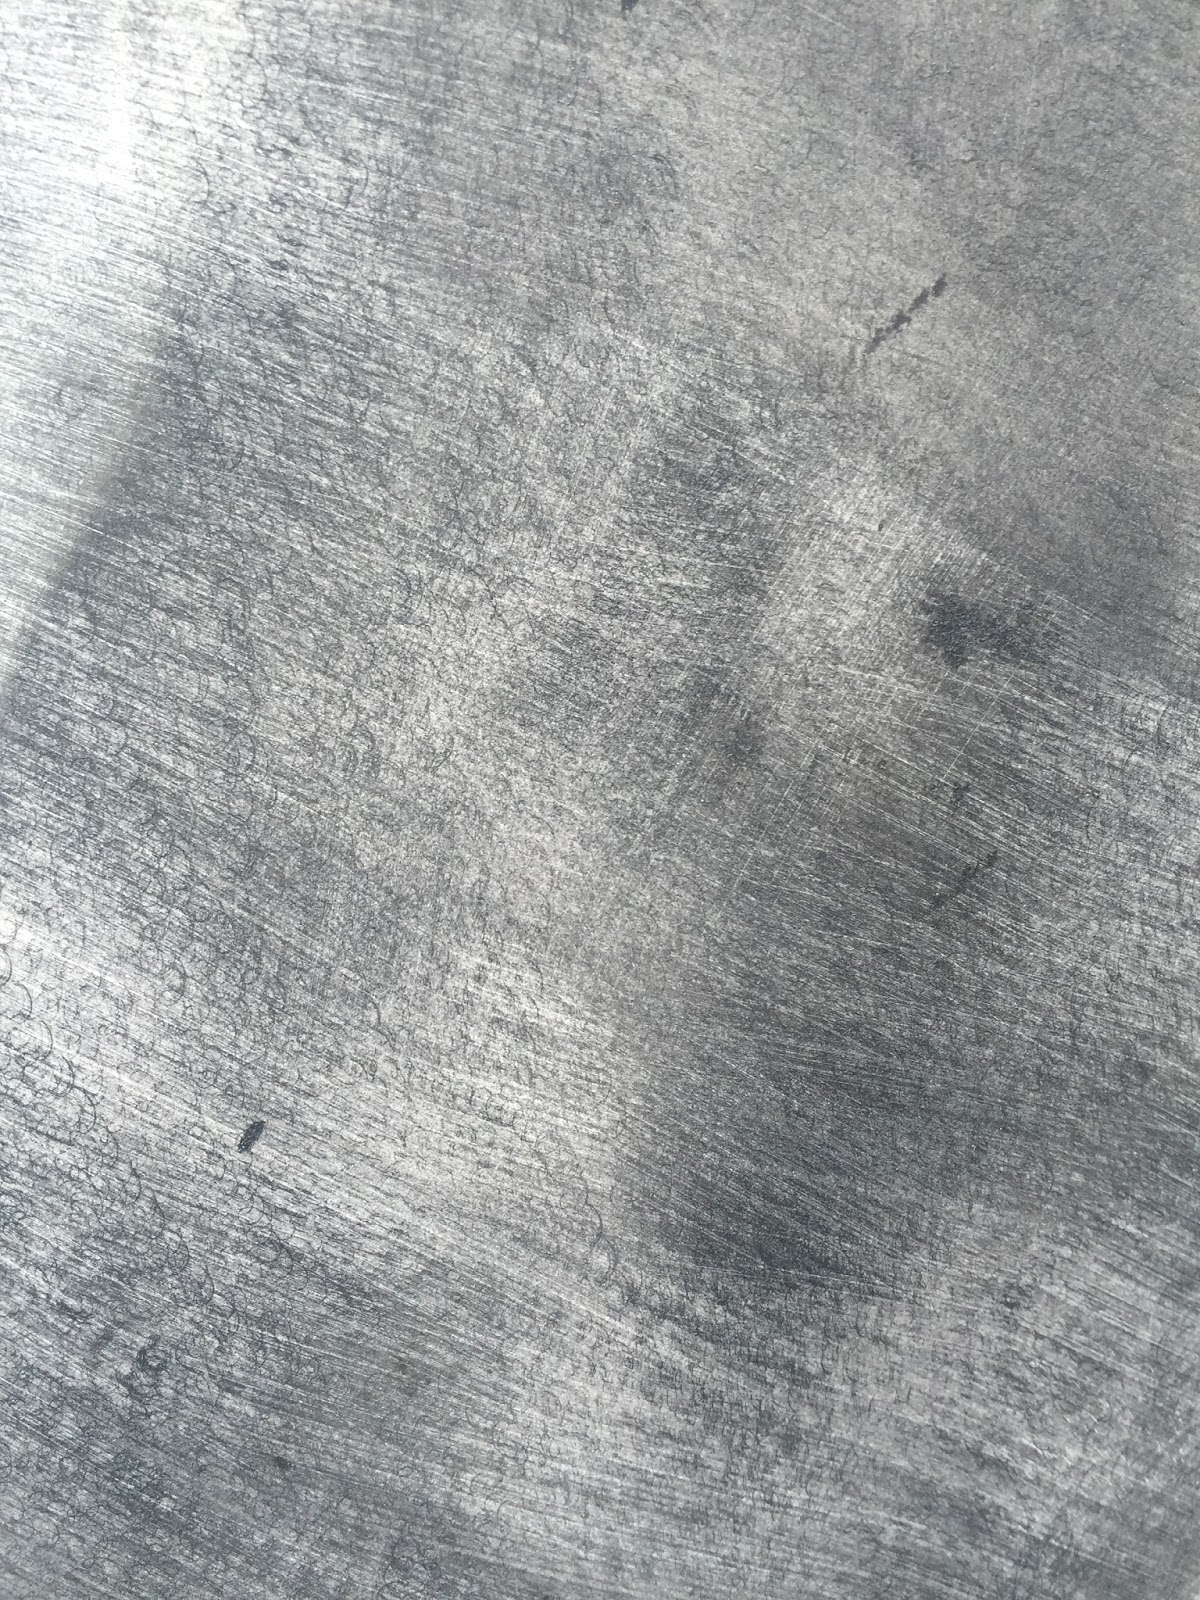
You can see here after sanding I still have lots of low spots.

I did a bit more filling, guide coating and sanding then once I had things looking reasonable I primed the guards.
I used a PPG primer. Note the spray gun stand. These are really handy and help stop you getting in a mess by trying to hold the gun and pour paint one handed. A small investment that makes life a lot easier.
The mixing cups are essential too to mix primer and thinners. This should then be run through a filter into the gun. ALWAYS FILTER the paint.

Here we are ready to go.

Once primed there were still some low spots that required filling so these were touched up with a bit more filler. I guess a pro would have these right by now but this is the first time I have given anything like this a go, so yeah a bit more time involved but I'm getting there.

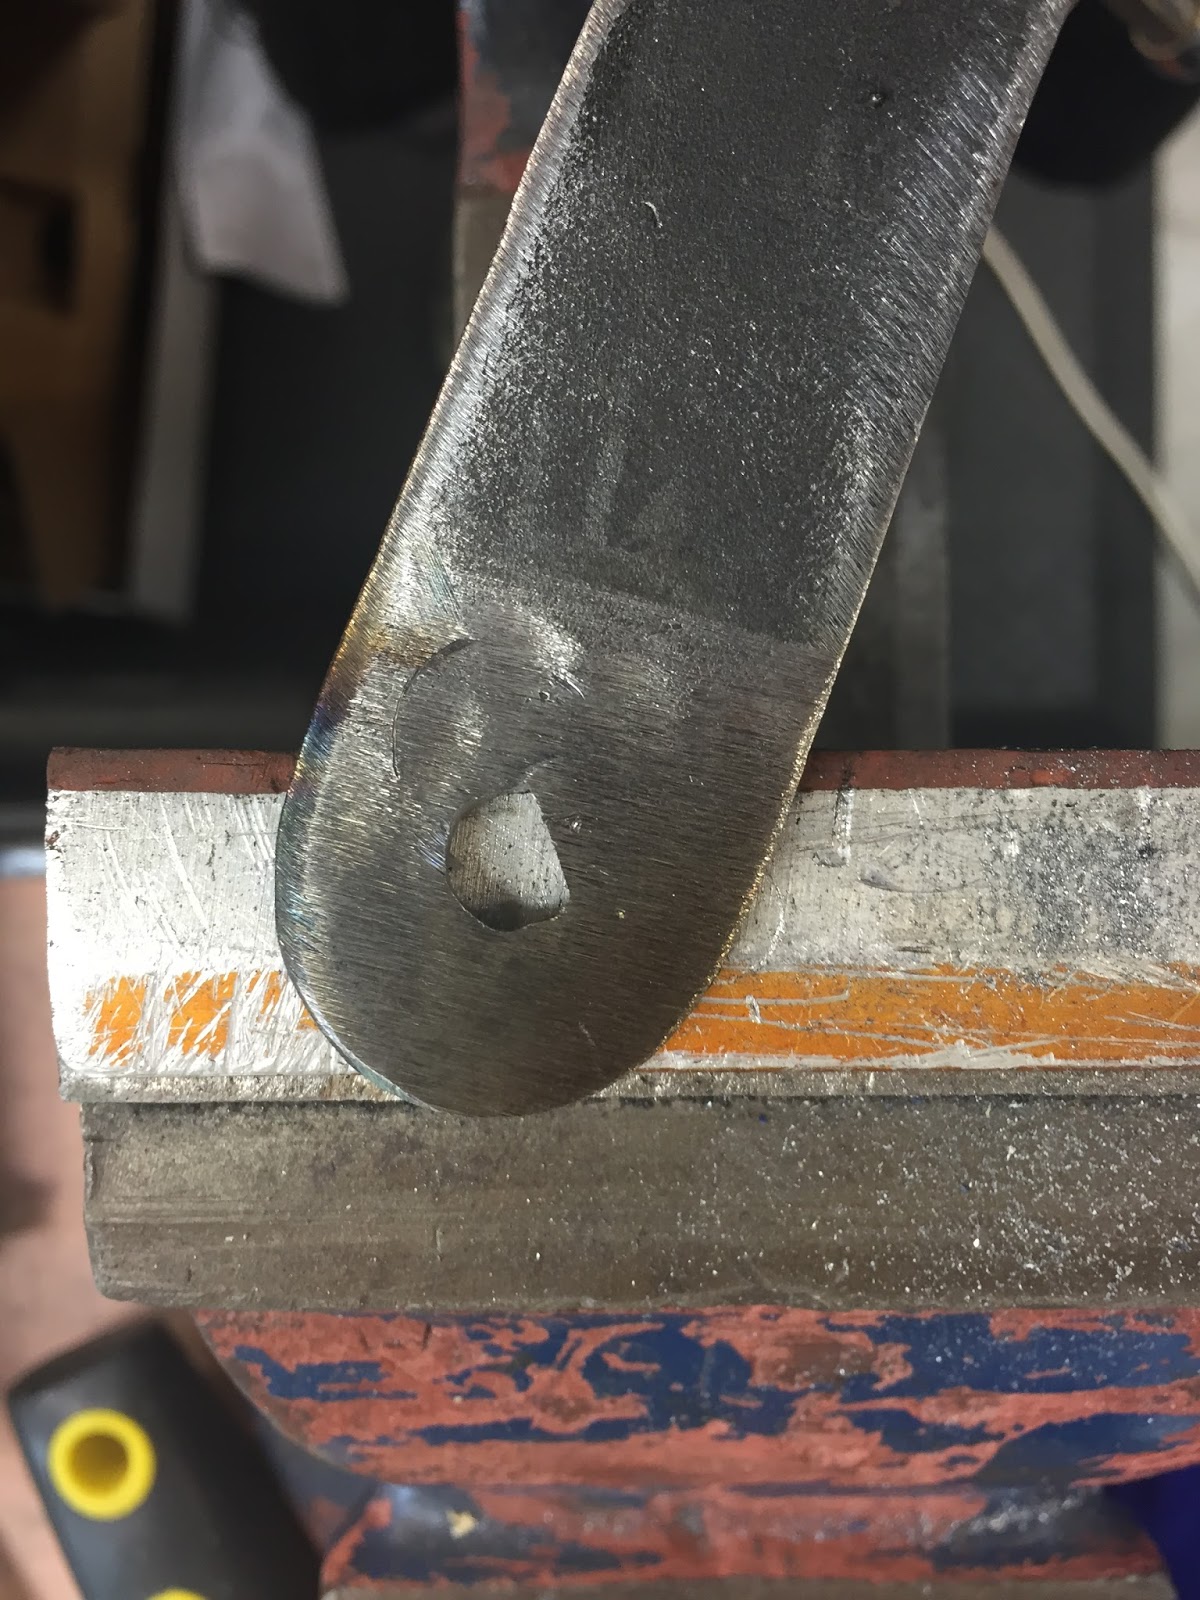
Another tip when sanding compound curves is these flexible sanding blocks. Sanding large areas with a piece of sandpaper by hand wont get the desired result. Your finger tips just follow the indentations/hollows and its near impossible to get a nice ripple free, hollow free finish.
As I do a lot....I asked around at a panel shop and a car painters supply store to see if there were any tricks or tips to sanding a compound curve (a panel that is curved both front to back and side to side). Its important to ask as there are often many little tips and tricks that can save you a whole lot of time and effort if only you bothered to ask. Even asking your fellow hot rodding mates can bring up new ideas and ways of doing things that you hadn't thought of.
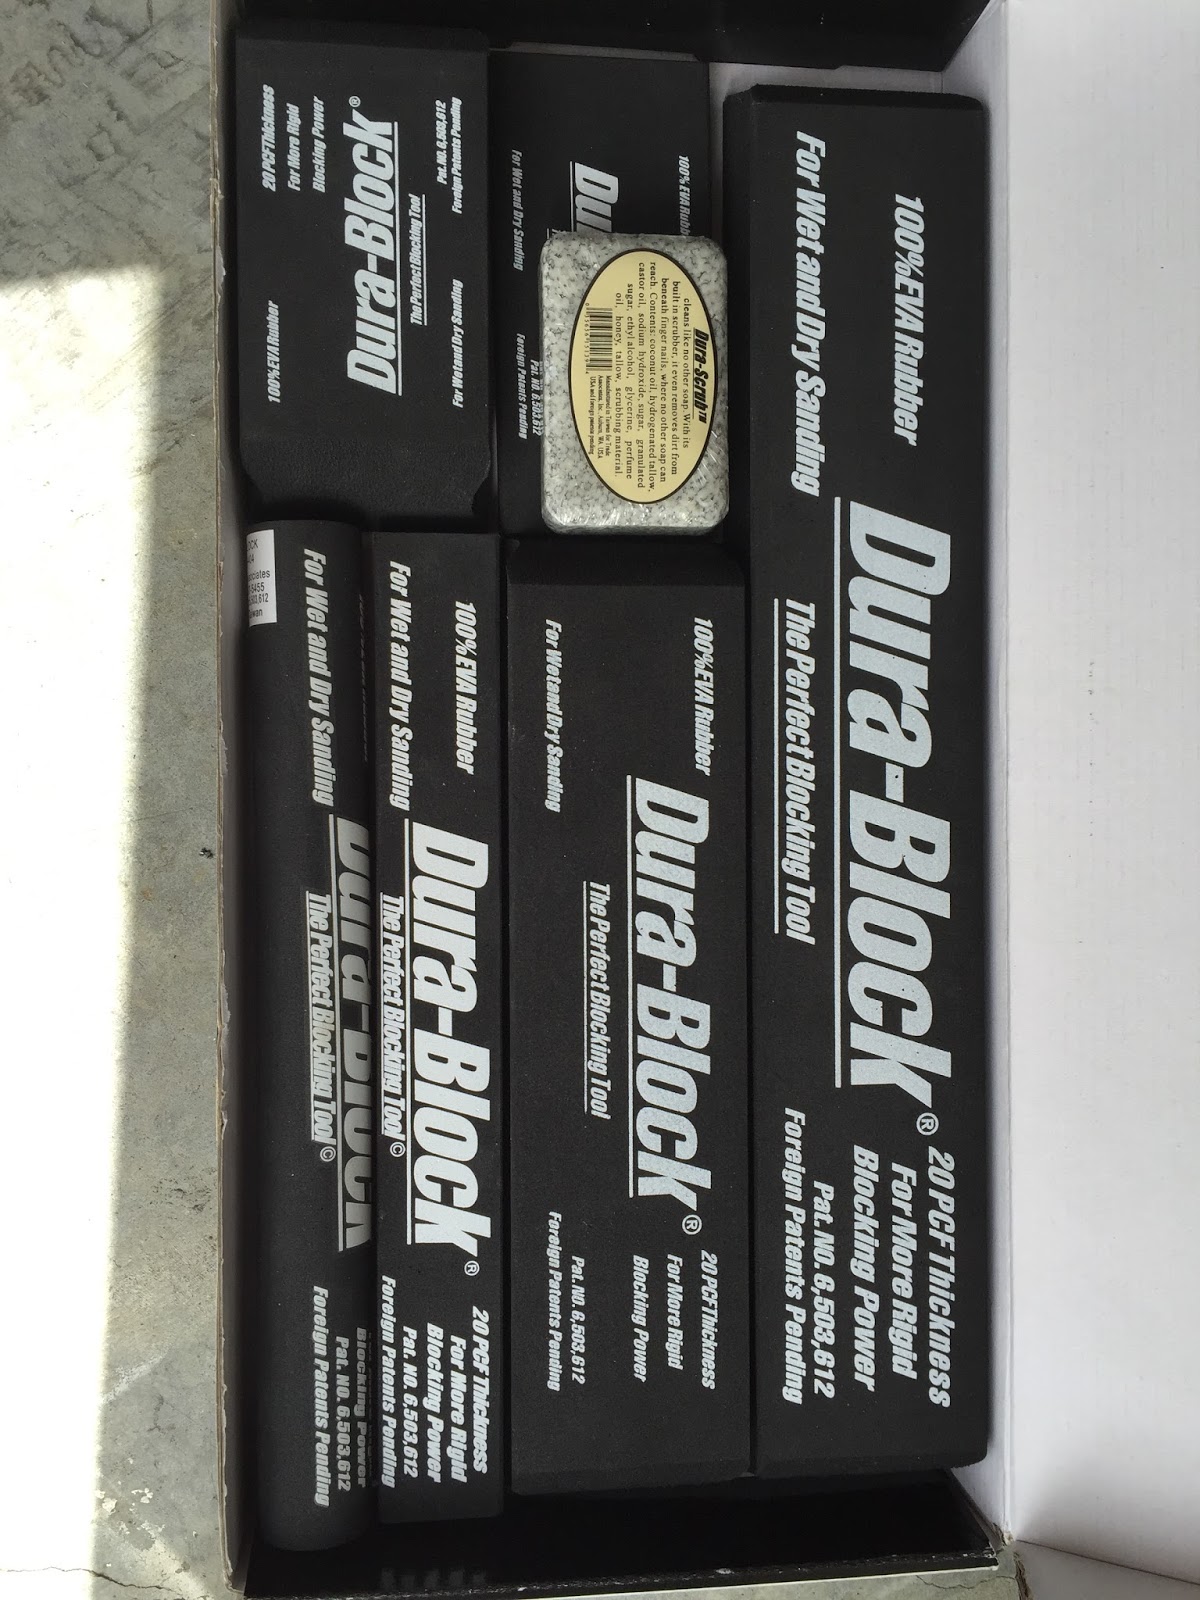
With these blocks you can use a self adhesive backed sandpaper. Another example of something I'd never heard of before.

The blocks themselves flex (particularly the smaller ones) and follow the shape of the panels curve, but as you can imagine, when used with sandpaper, these will knock the tops off any high spots but not fall into any low spots. Bam! Nice curves!


What you do is you lay your strip of adhesive backed sandpaper on the curve you are going to sand, then press the block onto it. There you have it the adhesive sandpaper holds the block to that shape. This made life much easier and as an amateur, even I was able to get what I thought was a reasonable result.


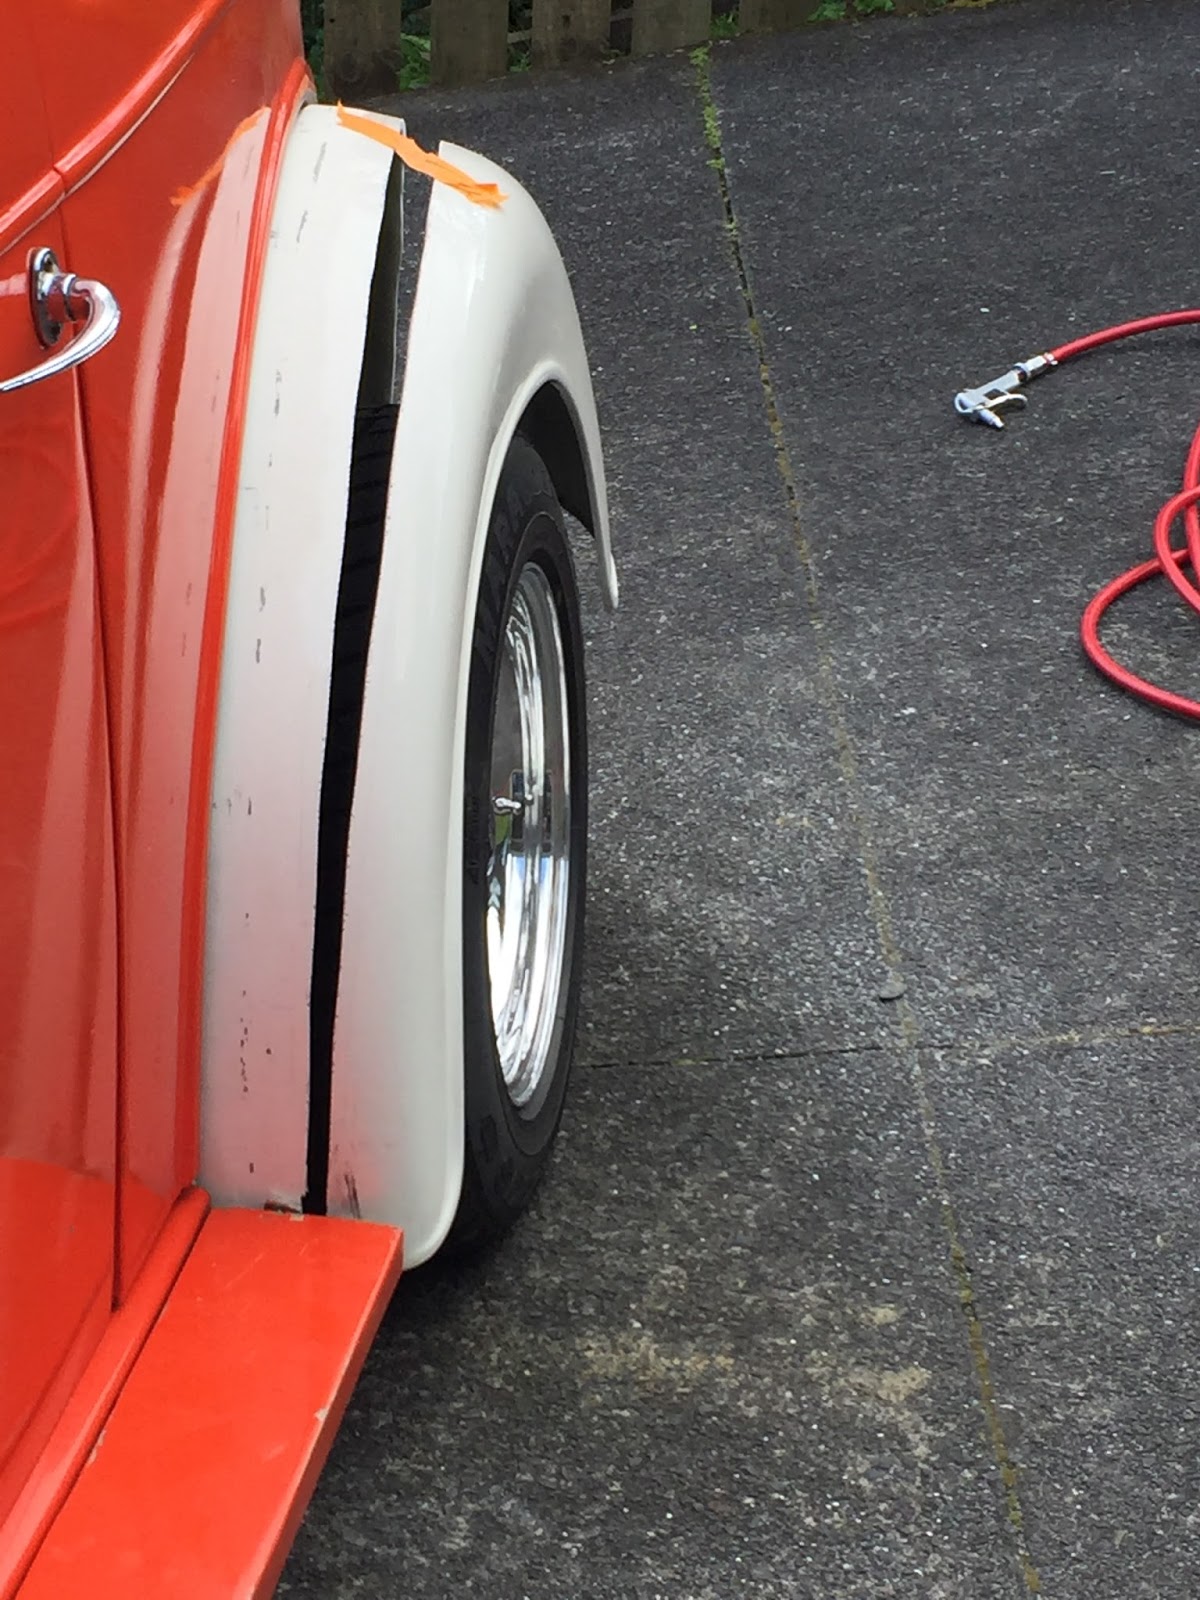
After much more sanding an filling, I was able to finally prime and fit the guards. Here they are fitted up with tail lights and all!

I'm pretty happy with the result. They still have a couple of blemishes but a decent coat of primer filler and final sand will deal with those before paint.