Now that I have been on the painting course.....surprise, surprise, the topic of painting the Pop came up again.
I have to concede though it does need doing as can be seen in these next few pics. The front panels don't line up, the guards are cracked and broken, the bog is cracking and the bonnet scoop is sagging and has always annoyed me as its just screwed on with phillips screws......and that's just the front end!


Seems sensible then to start with a tilt front. We picked this one up from Tauranga a few weeks back and I picked up the pro scoop on Trademe. The scoop is quite a big bigger so will give the car a bit more of an aggressive look. I also like the curves which are more in keeping with the curves of the car.
Here it is sitting in place.


Obviously these scoops are made to fit any car so a few adjustments are required to get it to fit the Pop hood. I firstly leveled it up using small blocks, and once it was in the right place and nice and level I transferred the profile of the hood by sliding a pencil around its outer edge on top of a match box.

Once I had that line it was out with a 1mm cut off wheel on the angle grinder. Here it is all trimmed and sitting in place.


Once that was done, the outline was marked so I could cut the hole in the hood.


You'll notice I have taken to all the edges with a sanding disc on the angle grinder. This is to give the new fibreglass something to key to.

And here it is glassed on.....well part way there anyway. This has just been glassed from the top. Next week I'll aim to flip it over and glass it from the inside as well. That should be plenty strong enough. After that though I'll need to sand the join smooth and fill any low spots to make the join invisible.


While the fibreglass was setting I took the time to make up a couple of inner guard supports. These go from the top edge of the guard down to the guard just behind the front wheel. The side of the guard at this point needs bracing or it would flap about.
I am going to use some light walled tube that I will bolt to some plates that will be fibreglassed onto the tilt front from underneath.
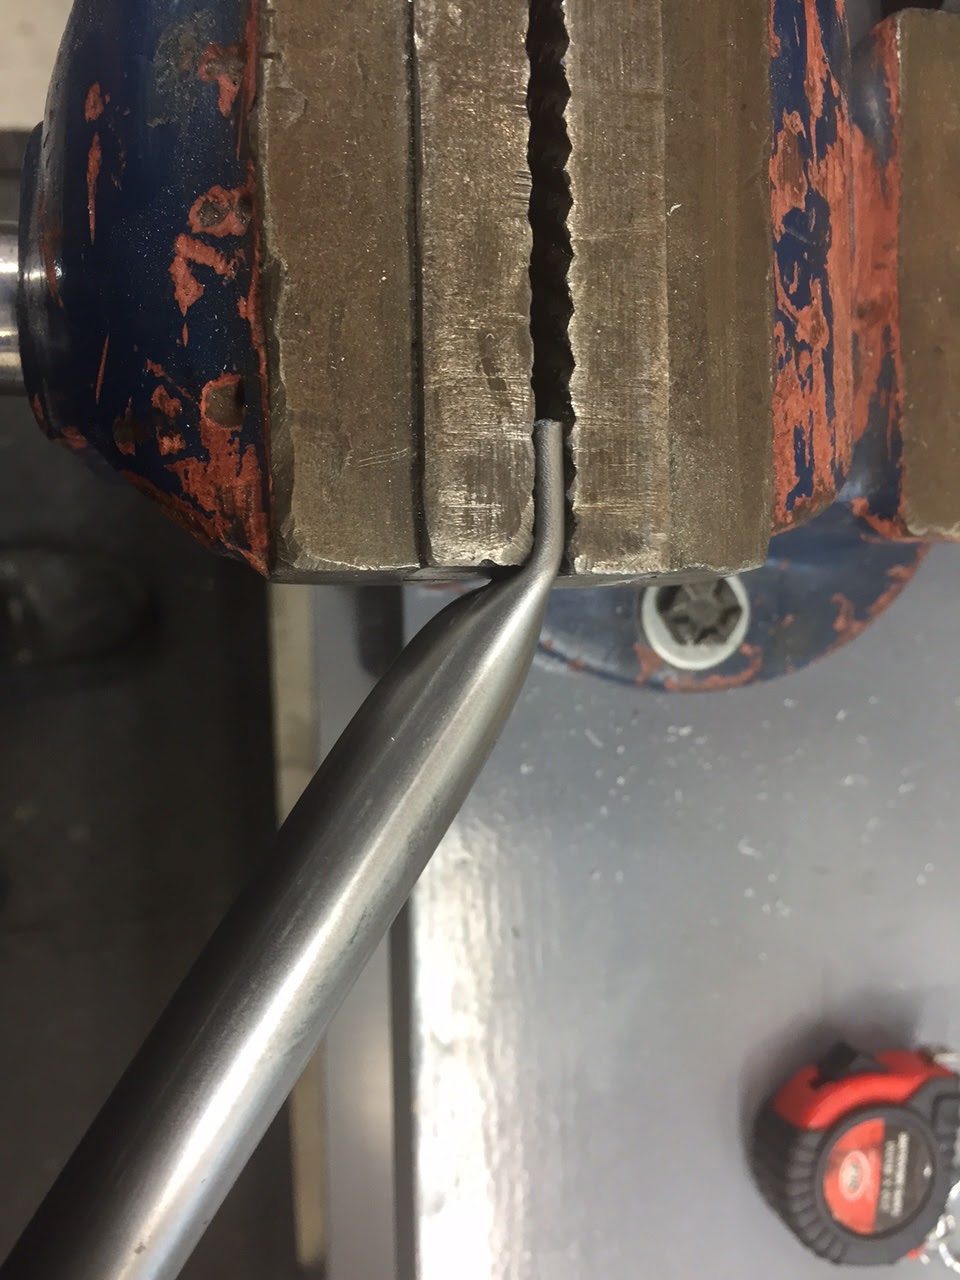
To do this I crushed the end of the tube in the vice to give a flat tip that can be drilled for the bolts to go through.


The next thing to do was to bend the ends so that the flat tip sits flat against the panel where it will mount.
You can see here how it will drop down and sit against the inner guard.

Here they are, a left and a right, ready to go. If you look closely you can see that the ends at the top of the pic are slightly angled. This is because the top and bottom mount points are not parallel to one another. These angles mean both ends will sit nice and flat with no "stress pulling" on the fibreglass which would only result in stress cracks later on.

Now while this has all been going on I have been prepping the side grills and the front grill. I am keen to have these included as they are really what makes a Pop a Pop. Often tilt fronts are left plain (no grill) or they have big round holes like a drag/race car, or they do something creative like cut out flame shaped holes. For me though including the iconic Pop grill is key.

Okay, so how do we get that grill fitted to look like its part of the tilt front?
I decided I'll cut them (the front and side grills) down and glass them in from behind. The hardest part will be cutting the holes to fit perfectly. The fact there is a stainless trim around each grill will make this a little easier as it will provide a nice interchange between the glass tilt front and the steel grills that will be recessed slightly as they are fitted from behind.
To do this I have cut the grills with a 1 inch margin. Coincidentally this is the width of my masking tape!

Here they are all cut out and ready to go! They are off with my panel guy who will straighten out all the bars and repair a few broken bits then send them away for sand blasting and etch priming. As soon as they are back, we'll tackle cutting the holes and glassing them in.
