Wow....what a job. I'd prepped a bit of stuff for the repaint/refurbish project, but boy was I in for a shock as to how long it would take and how much work was involved.
So much so that I wasn't able to complete regular blogs on all the work I did. It was not so much that there was too much work to do, it's just that we had a deadline so there wasn't enough time to set aside for the blog.
To give you an idea of how misguided I was with my timing, I thought I'd have the car painted before I went back to work on 18 January. But no, it was finally painted on 13 March and that was after spending every waking hour after work and 12 to 14 hour days on the car for both days of all available weekends.
So in short my estimate was originally 24 days in the holidays, but I needed a further 6 weekends (12 days) and 38 evenings after work (the equivalent of another 12 days).....yep it's what they always say.....when building a hot rod estimate the cost and treble it...estimate the time it will take and double it.
Anyway enough of that, what happened through all this time?
Really it was just a lot of prep, getting things to fit right and look right. The rear guards were a lot of work as I mentioned in my earlier blog, but after all that I still wasn't happy with them. The radius of the opening was too big and it made the car look like the wheels were too small for it. Ugly as.

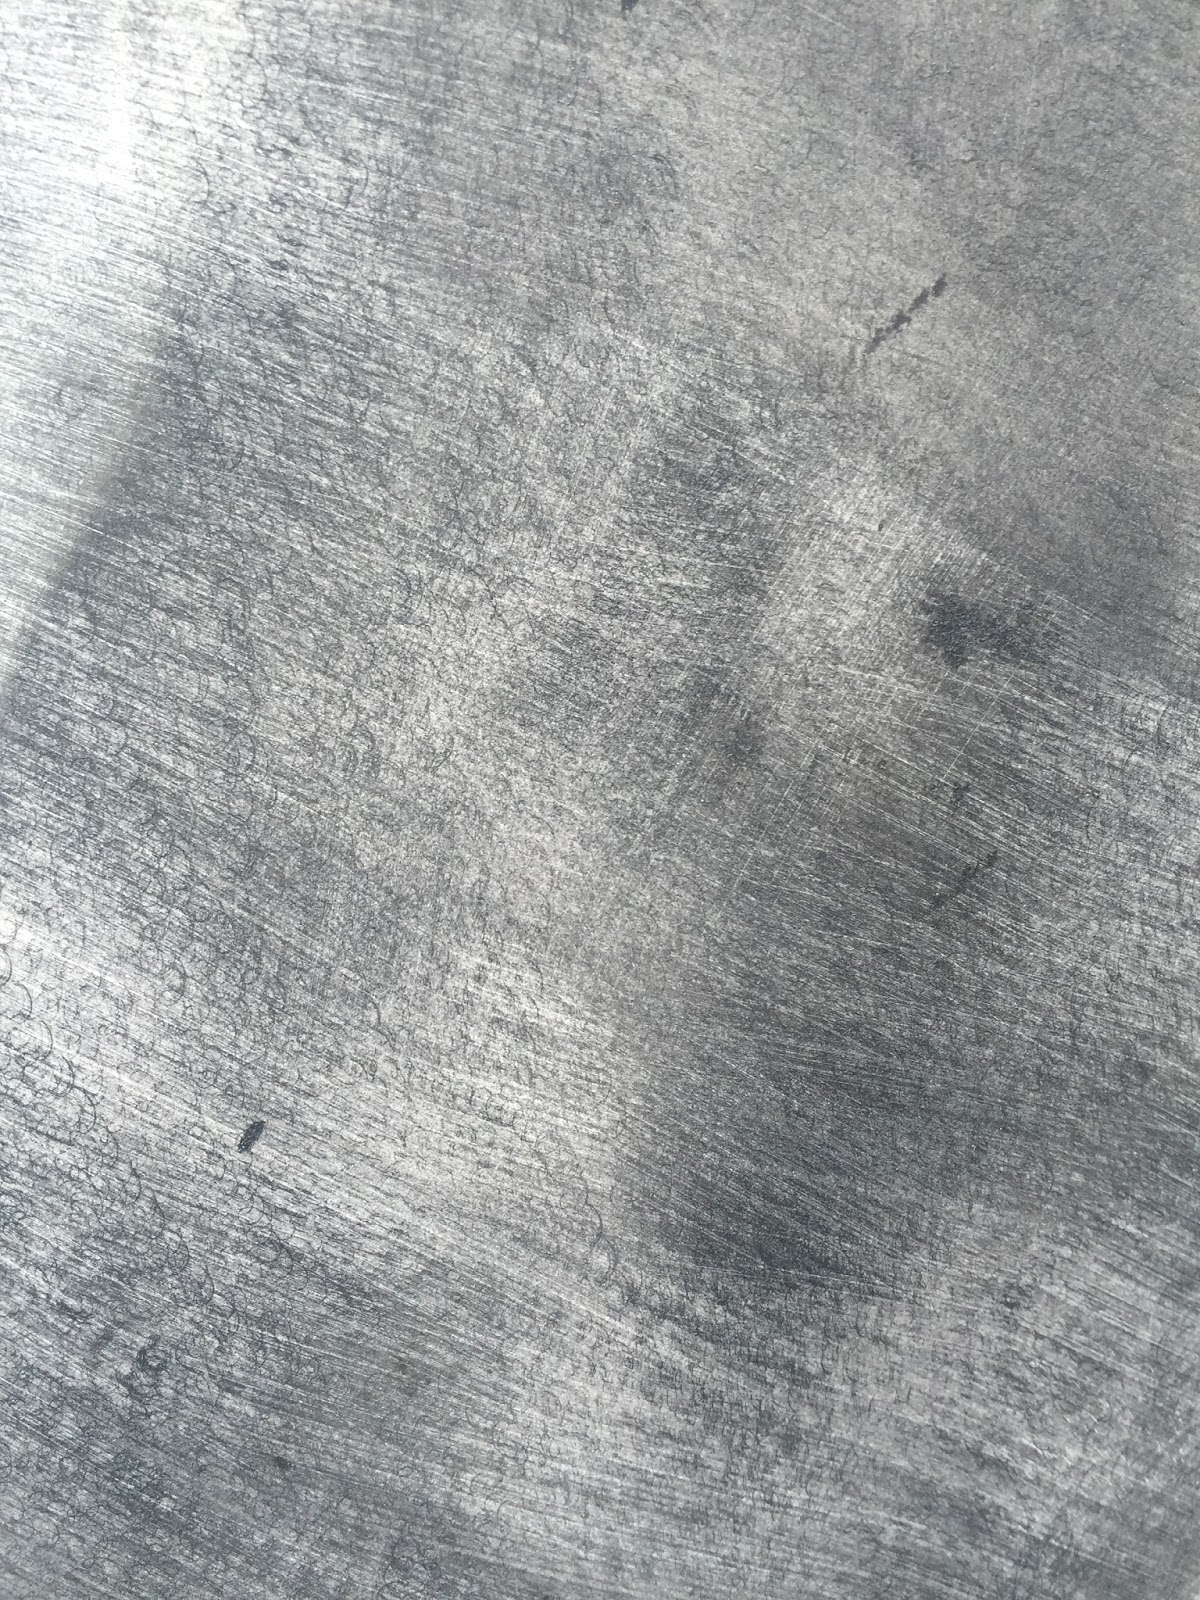
In addition to that the guards when I bought them, must have laid on their side for a while after coming out of the mould as the sides had caved in. You can see in this picture how my finger is at least 10 mm further in than the top edge of the guard.

So the decision was made to cut the sides off the guards and make new ones that would be flat and not concave, and also would have the right radius. Here is the template I made.

My mate Bill Dobbin kindly made a board with the shape routered into them, that I could use to lay up some new fibreglass sides.

Here is the first one out of the mould.

The old sides were cut off and these new sides bonded on. The opening and side was much better. That said the shape of the outer edge was too square, so I had to attack that too. In effect after doing all this, all that remains now of the original guards I purchased is the mounting flange.
Anyway following on from that, to get the swage line nice and uniform on the lip of the guard I created this fancy special tool. Its cut from a piece of 3 mm steel and I ground the shape of the swage using the bench grinder. I deliberately ground it one way so that the upper face is smooth but the rear face has a grinding burr on it. This made it perfect to spread the body filler using the smooth face and then once the filler was partly hardened, use the tool in reverse and allow the burr to act like a blade to cut off any high spots. It worked a treat!


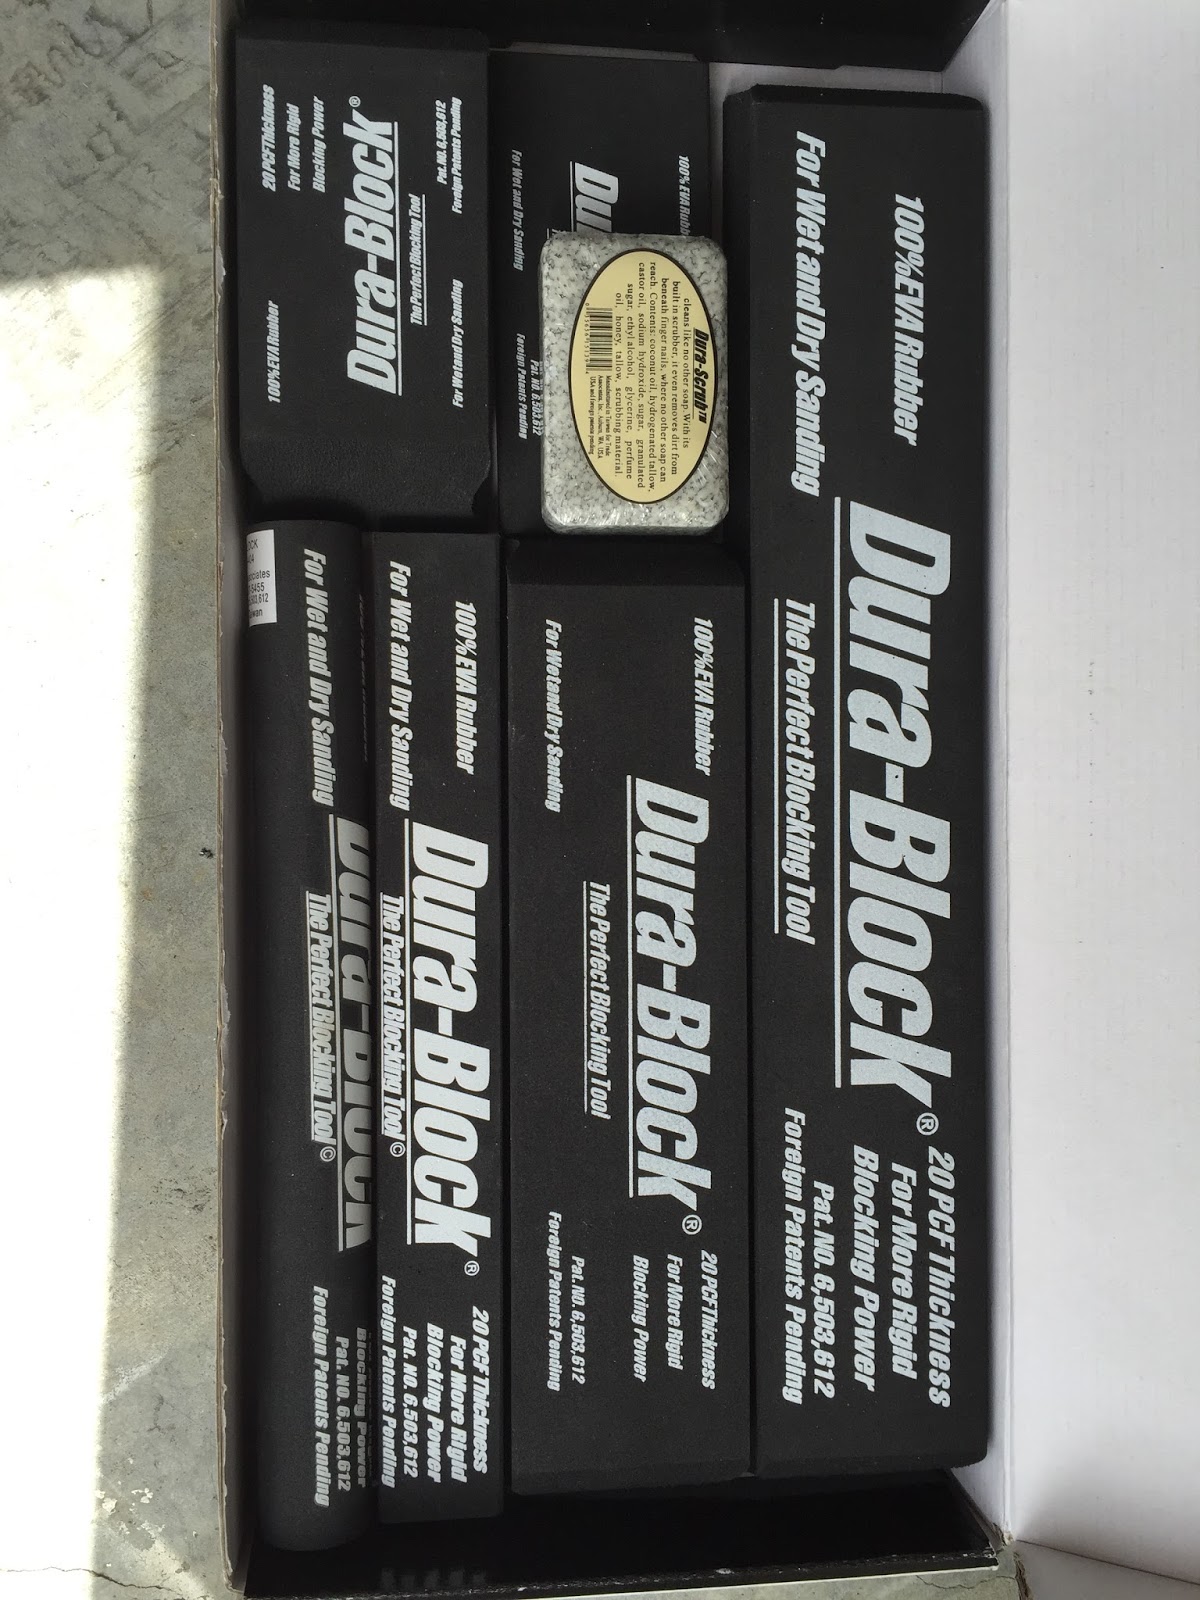
Most of the other work I completed was body prep related. Body filler, sanding, filling, sanding filling, priming, sanding, filling, priming, sanding, filling. To be honest if I saw a piece of sand paper right now I'd probably start rocking in a corner somewhere in the foetal position. I have totally had enough.
I had a few issues with paint reactions as I didn't go back to bare steel with the whole car. It was a case of just contending with these bits as they came up. They weren't widespread and I found that if I went easy with the amount of paint I was laying down (not too heavy and wet with thinners) for the most part I was able to avoid any reactions.
I did get there in the end though and while I knew it wasn't perfect it was as good as I could get with my first attempt and given the time pressure I was under. Here it is off to a spray booth that Bill Dobbin kindly organised for me. Man was I glad of that, there is no way I think I'd attempt anything beyond primer in the pop up gazebo or on the driveway. Fine for primer but not for top coat.

This is it just before going in the booth.

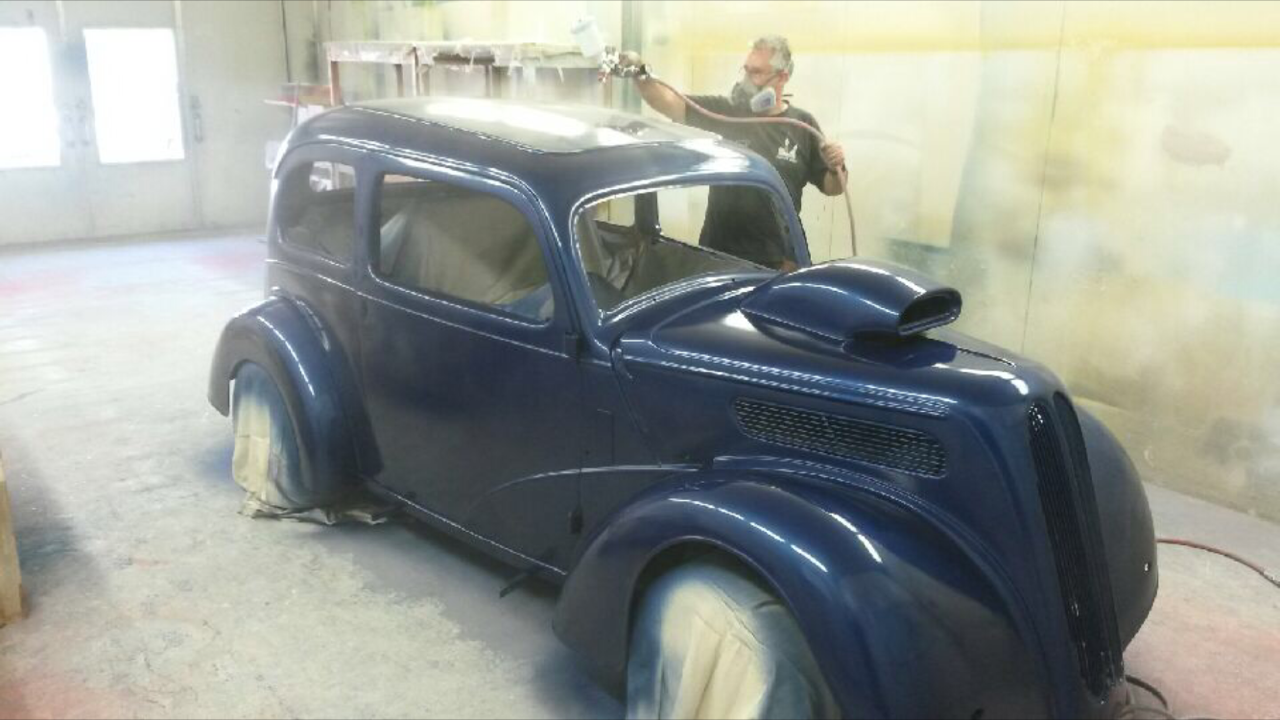
Here I am in full swing.


And here she is heading back home. Thanks John Winks for the tow!


Fairly happy with it and love the colour. It goes from Navy Blue in the shade to quite a purple colour (lots of purple pearl) in the half light, and quite blue in full sun.
Once the car was home we still had a lot of finishing to do. In fact there were 104 jobs on the list to do in about 2 days and 9 evenings. Some fairly trivial, like mounting the number plates, while others were pretty full on like repairing, priming, sanding, re-priming, sanding painting clear coating, polishing and installing the window trims.
Thank goodness Janine was able to pitch in and help.

Another part of the re-assembly was to have Jeremy from Bespoke glass, put in the newly cut glass we ordered back in December.


And here we go...ready to go to Beach Hop. Still something like 20 jobs on the list to do, but we can tackle some of these at Beach Hop. It was getting late and we needed to get going to beat the dark as the headlights still weren't even wired.
It was a pretty emotional and proud moment sitting on the drive taking this pic. I am just so happy with the result and more importantly, so is Janine.

As it turned out the daylight was against us and when we got to Drury I made the decision that we would be wise to wire the headlights, so I did that at the BP Service Station. After a bite to eat we hit the road again and made it to Whangamata without any issues.
The next 2 days were spent fitting the bailey channel and getting the windows to go up and down, fitting interior panels and door cards along with power window switches etc.
We then had 2 more days left and we bit the bullet and made the decision to try and get the car wet sanded then cut and polished. Again Janine pitched in and despite us both being completely shattered and sore, we got it finished at 7 pm on the Tuesday night with the first official run of the Beach hop at 8 am the next morning. Talk about cut it fine!
Here it is on Waihi run.


Now to just enjoy it for a while. There are still about 30 jobs to do, but we can chip away at those while we are driving it. I need a nap!